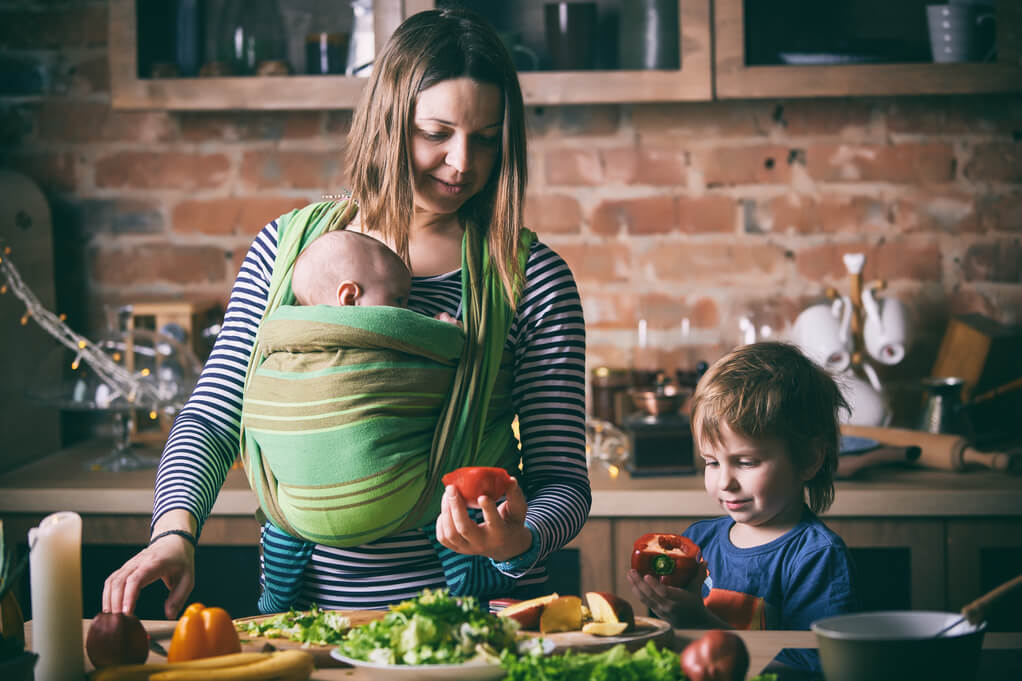
Easy dinner recipes: it’s the perfect answer to a working mom’s cooking woes. We know that balancing work, kids, and everything else in everyday life isn’t easy. It’s one thing to have a full-time job, and another thing to be a full-time mom. But it’s a whole different level to do both things at the same time! It’s even more difficult if you’re a single mom at work, worrying about what to feed your kids for dinner later. But don’t stretch yourself too thin! We have a simple solution for any working mom’s dinner worries.
Easy Dinner Recipes: A Simple Solution for Working Moms

With work taking up most of your time, there’s only so much you can do to manage. That’s why we came up with a list of easy dinner ideas that are simple and quick to make! With this list’s easy meals, you won’t have to rack your brain thinking about what to cook for dinner when you get home. No more staring at the pantry, thinking of dinner recipes you can make with the ingredients you have.
Making dinner for your family shouldn’t be a hassle. Stick to making easy meals and your cooking problems will be over! Also, if you’ve already exhausted this list of easy dinner recipes, we have more quick dinner ideas for you to try. We also have kid-friendly recipes your children will no doubt enjoy.
So work it, mom! No more worrying about what to have for later tonight! Not when you’re busy choosing your outfit from the working closet. Coupled with our cooking tips, this list of quick dinner ideas is sure to make cooking dinner a fun and loving experience.
5 Cooking Tips Every Working Mom Needs to Know
There are also other ways to make cooking dinner easier for working moms. Asides from our easy dinner recipes, we also have 5 handy cooking tips every busy parent should know. With these tips, you can have a full-time job and still cook up a delicious dinner meal for your family to enjoy. You won’t break up a sweat making it, either.
Stock Up on Supplies

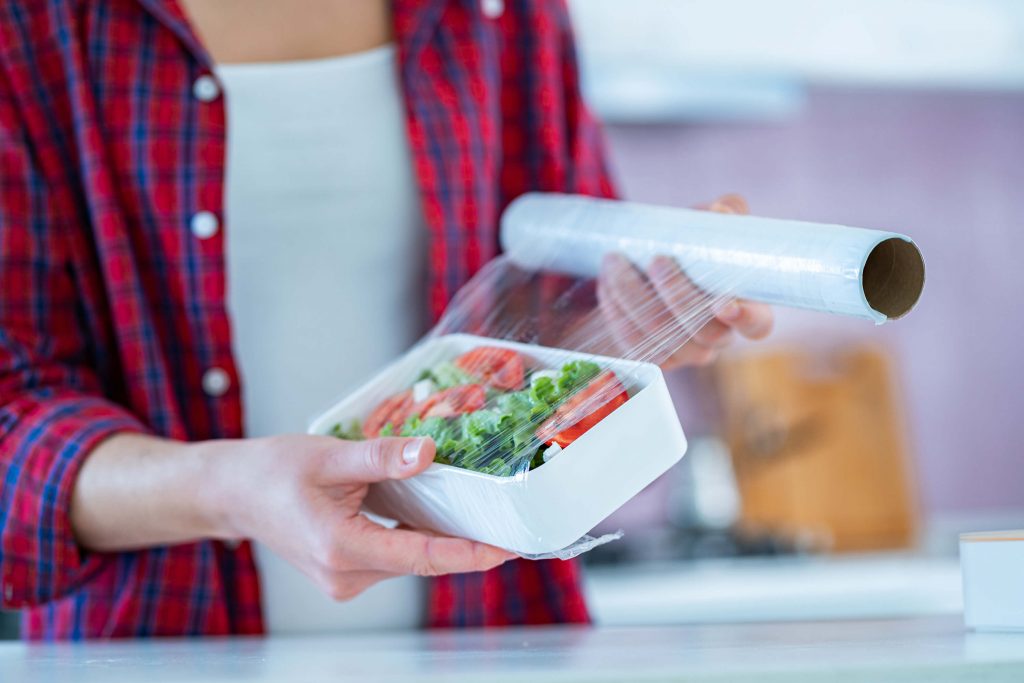
The first useful cooking tip is to always stock up on supplies. One way to make sure you always have enough supplies in the kitchen is to do grocery shopping once a month. Doing grocery shopping once a month not only saves money, it saves time too. This way, the pantry and kitchen will be well-stocked, and preparing for meals ahead of time will be easier to do.
When doing grocery shopping, think of every meal you’ll be making for the whole month. Buy all the necessary ingredients you need to make these meals. You’ll save time thinking about what to cook. Plus, you’ll also save time going out to buy ingredients you need, but may not have in the house.
Make sure to have staple ingredients, like pasta, rice, and canned food. You should also have frozen fruits and vegetables. Pasta, rice, and canned food can last for a couple of weeks in the pantry. Although, make sure to properly store frozen fruits and vegetables in the refrigerator. Don’t forget to stock up on handy spices too! Salt and ground black pepper are basic must-haves. But versatile spices like cayenne and paprika should be in the kitchen too.
Keep Meals Simple

Cook simple, easy-to-make meals! Pasta, fried rice, and soups are all delicious dinner meals that can be cooked with little to no effort. The trick is to choose main ingredients that cook easily and won’t take long to prepare.
Sometimes, 1-ingredient recipes, 2-ingredient recipes, or even 3-ingredient recipes are enough to save dinner every once and a while. As long as it’s delicious, kids rarely complain about the food you give them. Who knows, your emergency grilled sandwiches might even be their favorite comfort food.
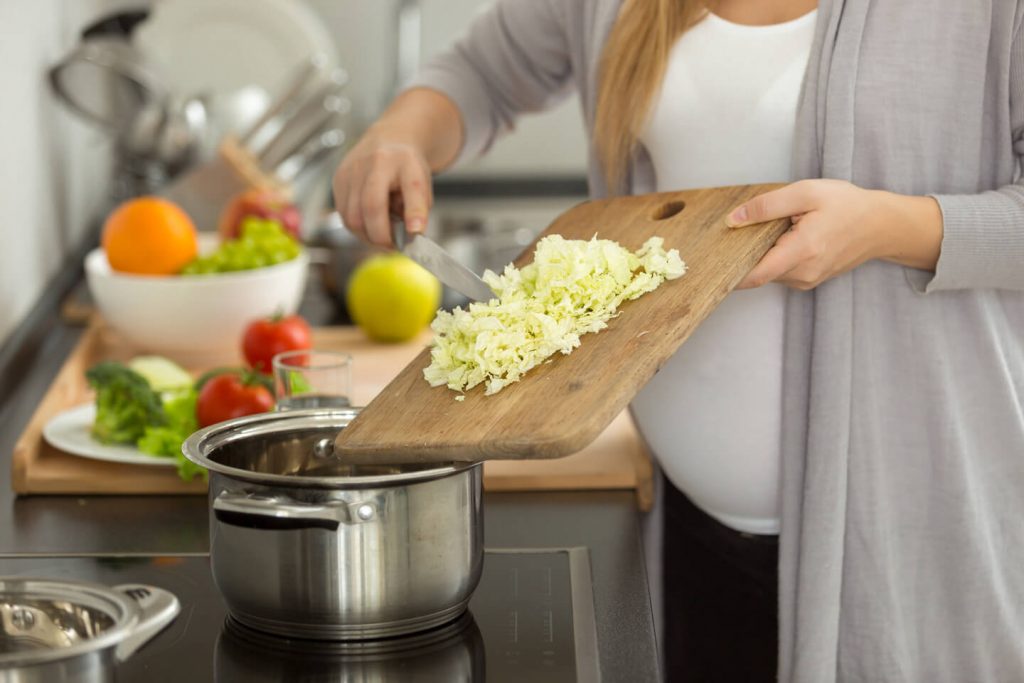
Make Food Ahead of Time
Thinking ahead of time is one of the secret ingredients to easy dinner meals. Make the most with the time you have by preparing dishes early. If you already know the meals you’ll be cooking for this week, you can then start prepping for tomorrow’s dinner while today’s meal cooks.
For example: if you’re making a delicious pasta meal, you can always cook the noodles ahead of time. This way, you’ll only need to toss the cooked pasta noodles into the sauce and dinner’s set! Just store your pre-cooked meals in the fridge so they don’t spoil. Also, don’t forget to label the containers to avoid any confusion.
Set Up a Routine

Setting up a routine makes everything easier! If Fridays are fried rice days, then everyone already knows what they need to do.
You can get your kids’ help when preparing for some of the ingredients. The older ones can help by washing the rice. Meanwhile, the younger ones can help by taking out the carrots and peas from the fridge. Who says dinners are only a parent’s job?
Always Cook Extra
Cooking extra is like cheating your way through the hassles of dinner-making. Let’s say that you’ll be making a ground-beef dish for tonight’s dinner. You can cook extra ground beef, and make this the main ingredient for tomorrow’s meal.
You can also cook double the normal amount. So, the extra goes to the fridge, and when tomorrow comes, all you have to do is heat it up again.
Now you know all the handy cooking tips that can help you make dinner easier. This time, let’s look at our list of 10 kid-friendly, easy-to-make dinner recipes!
10 Easy Dinner Ideas for Busy Working Moms
Parents with full-time jobs and kids to take care of don’t always have the time or energy to spend on making dinner. That’s why we chose 10 easy dinner ideas that use simple ingredients and are quick to cook. We also included some recipes for kids, since we know they can be quite the picky eaters.
So, without further ado, let’s dive into our list of 10 easy dinner ideas that are perfect for busy, working moms!
Pork Chop Dinner

We start off the list with a classic dinner meal. Our easy Pork Chop recipe makes a simple, yet elegant, dinner meal out of a popular pig part, the pork chop.
This dinner meal is as easy to make as it is simple. Basically, you just need to fry the pork chops in a skillet for a couple of minutes. Then, you let it cook some more in rich sauces under low heat. This gives the meat an explosive and savory taste! It also makes the meat more tender, since pork chop is usually firm.
It’s not only delicious, but it can also be quite healthy too. Pork is a good source of protein, something that all growing children need. And the best part? All this you can do in just 25 minutes! You can even cut down that 25 minutes if you prep ahead of time.
Recipe for Inspiration: Pork Chop Recipe
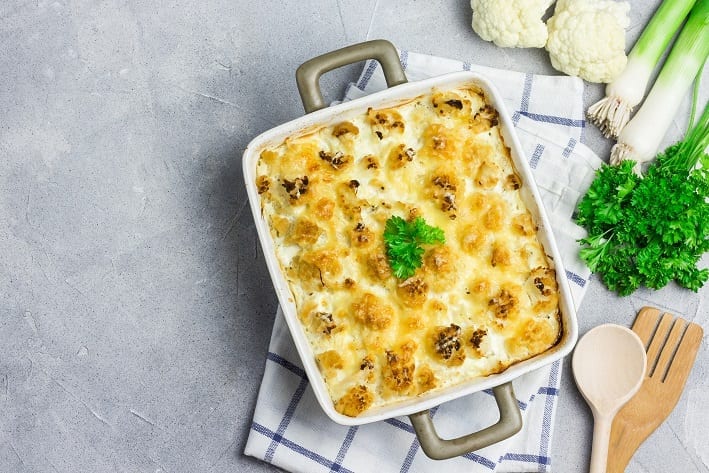
Cheesy Zucchini Casserole

As a mom, it’s important to serve balanced dinner meals. Meat like steak and chicken are good because of their protein. But you shouldn’t forget to add some nutritious green veggies like zucchini too.
It’s a good thing, then, that our Zucchini Casserole is both scrumptious as it is healthy! It has green zucchinis, protein-rich eggs, and irresistible parmesan and cheddar cheeses. This meal is a good example of a dish that kids won’t be afraid to eat, even if it does have green veggies in it. Maybe because the cheeses make them forget that there are zucchinis in the first place.
Whatever the reason may be, our easy zucchini casserole recipe is definitely worth trying. Not only does it use basic and simple ingredients. The recipe instructions needed to make it are also simple to follow. In just half an hour, you already have a delicious casserole dinner ready for eating!
Recipe for Inspiration: Cheesy Zucchini Casserole
Crescent Chicken Casserole
No list of easy dinner recipes is complete without chicken dishes! This Chicken Casserole Recipe is not only easy to make. It’s incredibly tasty and budget-friendly too. It’s the perfect recipe for busy weekdays since you only need 5 ingredients and 20 minutes to make this dish.
This delicious casserole is similar to a chicken and dumplings dish. The chicken is stuffed inside the crescent rolls, then baked along with a mixture of milk and chicken soup. The result is a creamy, cheesy and filling dish that’s best enjoyed with one’s family. It’s a go-to comfort food that warms both hearts and tummies.
Note that this recipe needs frozen crescent rolls, so remember to stock up before you make it for dinner. You can also serve it along with rice if you want that feeling of being extra-full thanks to carb overload.
Recipe for Inspiration: Chicken Casserole Recipe
Pasta In Creamy White Sauce With Ham
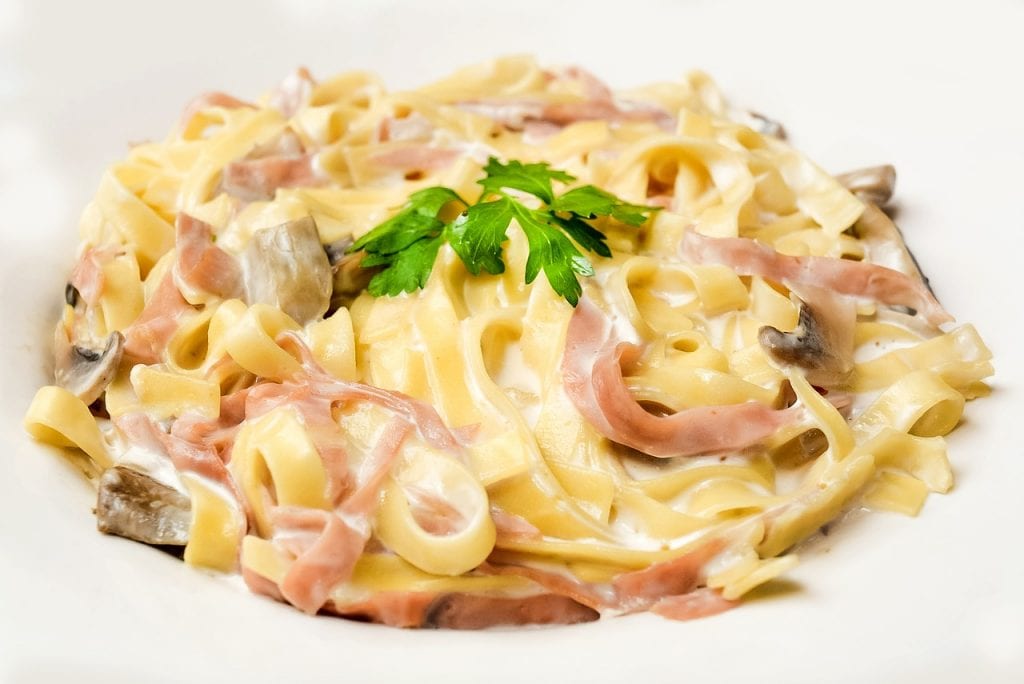
Nothing beats a plateful of pasta for dinner! So in this list, we included a simple yet satisfying pasta meal anyone can make at home. Our Pasta In Creamy White Sauce With Ham Recipe is the perfect quick and easy pasta fix. This pasta dish is the go-to if you or the kids are craving for some pasta noodles.
This easy dinner recipe uses staple ingredients you can easily find in the kitchen. You can also cook the noodles, crumbled chicken and ham toppings in advance so it’ll be easier to prepare for dinner. Its yummy ingredients also go together in the best way possible. The ham’s sweetness is perfect when combined with delicious, creamy sauce. The crumbled chicken also adds a varied texture. All that goodness you can make with just 8 easy steps, and in just 15 minutes time.
We used spaghetti noodles for this recipe, although you can always use other types of noodles to your liking. Or, whichever is available. Our recipe can also make enough pasta to serve for 6 people. So, it’s a great choice to cook if you’re having a few guests over.
Recipe for Inspiration: Pasta In Creamy White Sauce With Ham
Rosemary Red Potatoes

If you want something really simple to make, you can try this 1-ingredient recipe that features red potatoes as the star of the dinner table. Granted, our Rosemary Red Potatoes Recipe actually lists 6 ingredients, but the main ingredient is red potatoes. The others are simply oil, butter, spices, and chopped rosemary. These, you probably already have in the pantry.
All you need is an oven to bake the red potatoes until they’re soft and tender. Once you’re done preparing the red potatoes, you can simply leave them to bake for around 30 minutes. After that, you have in your hands a delicious dinner meal fit to feed a family of 4!
Don’t worry yourself thinking this dish isn’t enough for dinner. Potatoes are a wonderful main ingredient because they’re tasty and incredibly filling to eat. Because they’re loaded with carbs, they’ll leave you and your kids’ tummies feeling full throughout the whole evening. This recipe also lets you eat the red potatoes’ nutritious skin. It’s filled with fiber, iron, potassium, and vitamin B. That’s why trusted professionals say that potatoes should be one of the regular fixtures in one’s diet.
Recipe for Inspiration: Rosemary Red Potatoes
Pumpkin Soup

Another recipe that uses a few, simple ingredients is our 2-ingredient Pumpkin Soup. This rich and creamy soup is incredibly warm and comforting to have for dinner. It’s soothing to have when you feel like eating something simple yet filling. It’s also a healthy dinner meal, since pumpkin is a good source of fiber, protein, and vitamins.
From its name, this delicious recipe only uses only 2 ingredients: peeled pumpkin and chicken broth. All you have to do is place the 2 ingredients in a deep saucepan and cook for 30 minutes until the pumpkin is tender. You can buy pumpkin in grocery stores and store them properly in the fridge. Freshly cut pumpkins are only good for 2 to 3 days in the fridge, so it’s best to use the vegetables immediately after they’re cut.
Recipe for Inspiration: Pumpkin Soup
Baked Beans

Baked beans are a staple dinner meal. Our 3-ingredient Baked Beans recipe is BBQ-flavored, so it’s a dish even the kids will love to eat. It also uses only 3 simple ingredients: baked beans, BBQ sauce, and bacon.
Although it’s not as quick to cook as the other recipes in this list, you can always prepare the dish before leaving for work. When you come home, it’ll be good and ready to serve. Cooking the beans in a slow cooker over low heat for 8 to 12 hours might be a bit of a hassle. But doing so brings out rich and savory flavors that you didn’t even know beans are capable of! This baked beans meal is also enough to feed up to 12 people, so you can just save half of the dish and heat it up for the next day.
Recipe for Inspiration: Baked Beans
Garlic Parmesan Chicken

This delicious dinner meal is exploding with flavors of garlic and delicious parmesan cheese. Our easy Garlic Parmesan Chicken recipe is perfect for both kids and adults. The cheese-topped chicken breasts are irresistible to taste, and will leave everyone in the family hungry for more.
The recipe itself is quick and easy to do, using only a handful of ingredients and taking no more than 35 minutes to make. Basically, you’ll bake the chicken breasts for about 15 minutes, until all the cheese has melted and the chicken’s rich juices have come out. When done, the meal is enough to serve up to 6 people.
You can cut down on preparation time by making the garlic and butter mixture in advance. Just a bite of this crunchy chicken meal and you’ll be thanking us for introducing you to this wonderful dinner meal.
Recipe for Inspiration: Garlic Parmesan Chicken
Bob Evans Cheesy Stove-Top Macaroni
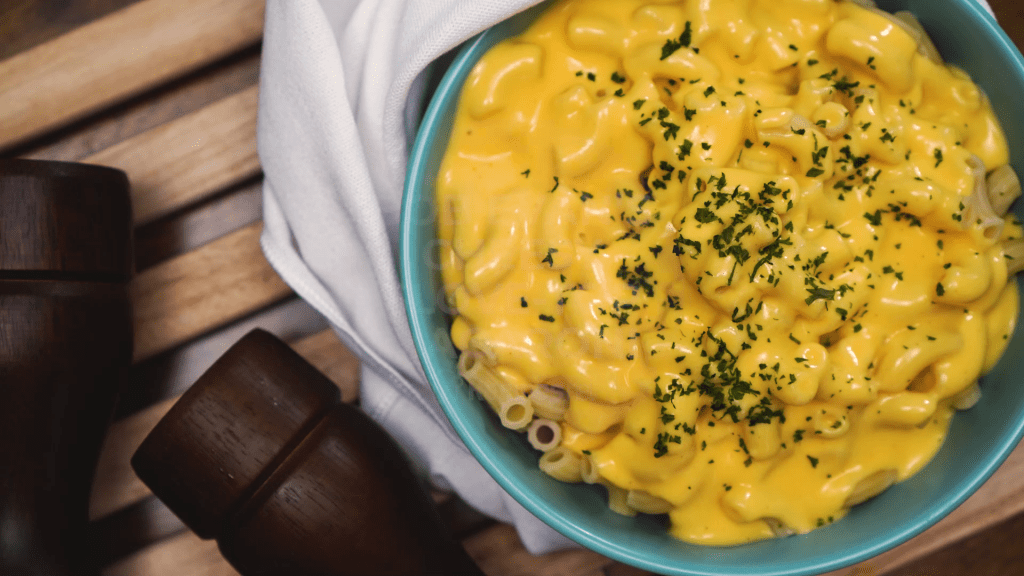
Asides from milk and cookies, mac-and-cheese is no doubt one of kids’ most favorite meals. It won’t take you more than 30 minutes to make this delicious Bob Evans Cheesy Stove-Top Macaroni Recipe. It’s not only quick to make! You can also cook this dish with ingredients you probably already have in the kitchen. All you need is elbow macaroni, flour, milk, and, of course, cheddar cheese.
Save up some time cooking the elbow macaroni in advance, and you’ll probably even cut down 30 minutes into 20 minutes. This gooey, cheesy goodness is as easy to make as it is kid-friendly. If your little ones loved this recipe, we suggest you look through and give our other dinner ideas for kids a try.
Recipe for Inspiration: Bob Evans Cheesy Stove-Top Macaroni
First Rate Fried Rice
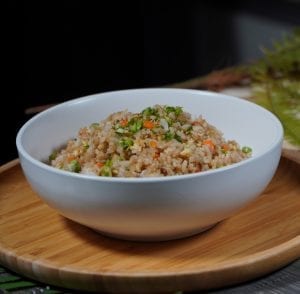
No easy dinner recipes list is complete without fried rice. Our First Rate Fried Rice recipe is one of those meals that you just sometimes crave for. Fried rice is a classic dish in Asian cuisine, and it’s a meal anyone can enjoy.
Like all fried rice recipes, this dish is perfect if you have leftover food like rice, vegetables, and other meats. Fried rice is great at taking those leftover food and breathing life back into them! While this recipe mainly uses staple vegetables like carrots and peas, you can add other ingredients like ham and even shrimp. It won’t take you more than 25 minutes to make this meal that can feed up to 4 hungry mouths.
Recipe for Inspiration: First Rate Fried Rice recipe
Conclusion
Making dinner shouldn’t be a hassle for busy parents. With our handy cooking tips and easy dinner recipes, feeding the kids will be almost effortless! Also, with our wonderful recipes, you won’t have to sacrifice flavor for simplicity. Our easy dinner meals will leave everyone satisfied and happy.
Was this page helpful?
Read Next: 10 Best Budget Seasonal Recipes For Any Occasion
Naomi Blue
Naomi is a writer, editor, and manga enthusiast. She has written for various websites, events, and ad commercials. She is also an avid fan of street food and food history. She’s currently in her Japanese and Indonesian food phase and is interested in exploring Vietnamese cuisine next.
Related Articles